In this latest blog post I thought it might be useful to give a short overview of how to examine the optic nerve head. I currently do a lot of hospital glaucoma clinics, as this is my main area of clinical interest. The skill of trying to decipher a normal optic nerve, from one which is perhaps just a variant of normal, from one which has glaucoma is something which you develop over time and seeing lots of different discs. However with a lot of discs the analysis of it is not clear cut and we have to monitor the disc over the course of time for evidence of change.
Examination of the optic nerve head for potential glaucoma or other pathology is one of the very fundamental skills that all optometrists require, and so hopefully this refresher will be useful.
In order to examine a disc in detail I try to follow these steps. Please note that this is always with a volk lens at the slit-lamp, with dilation when required, and only with direct ophthalmoscopy if the patient is unable to position at the slit-lamp.
- Configuration of the disc
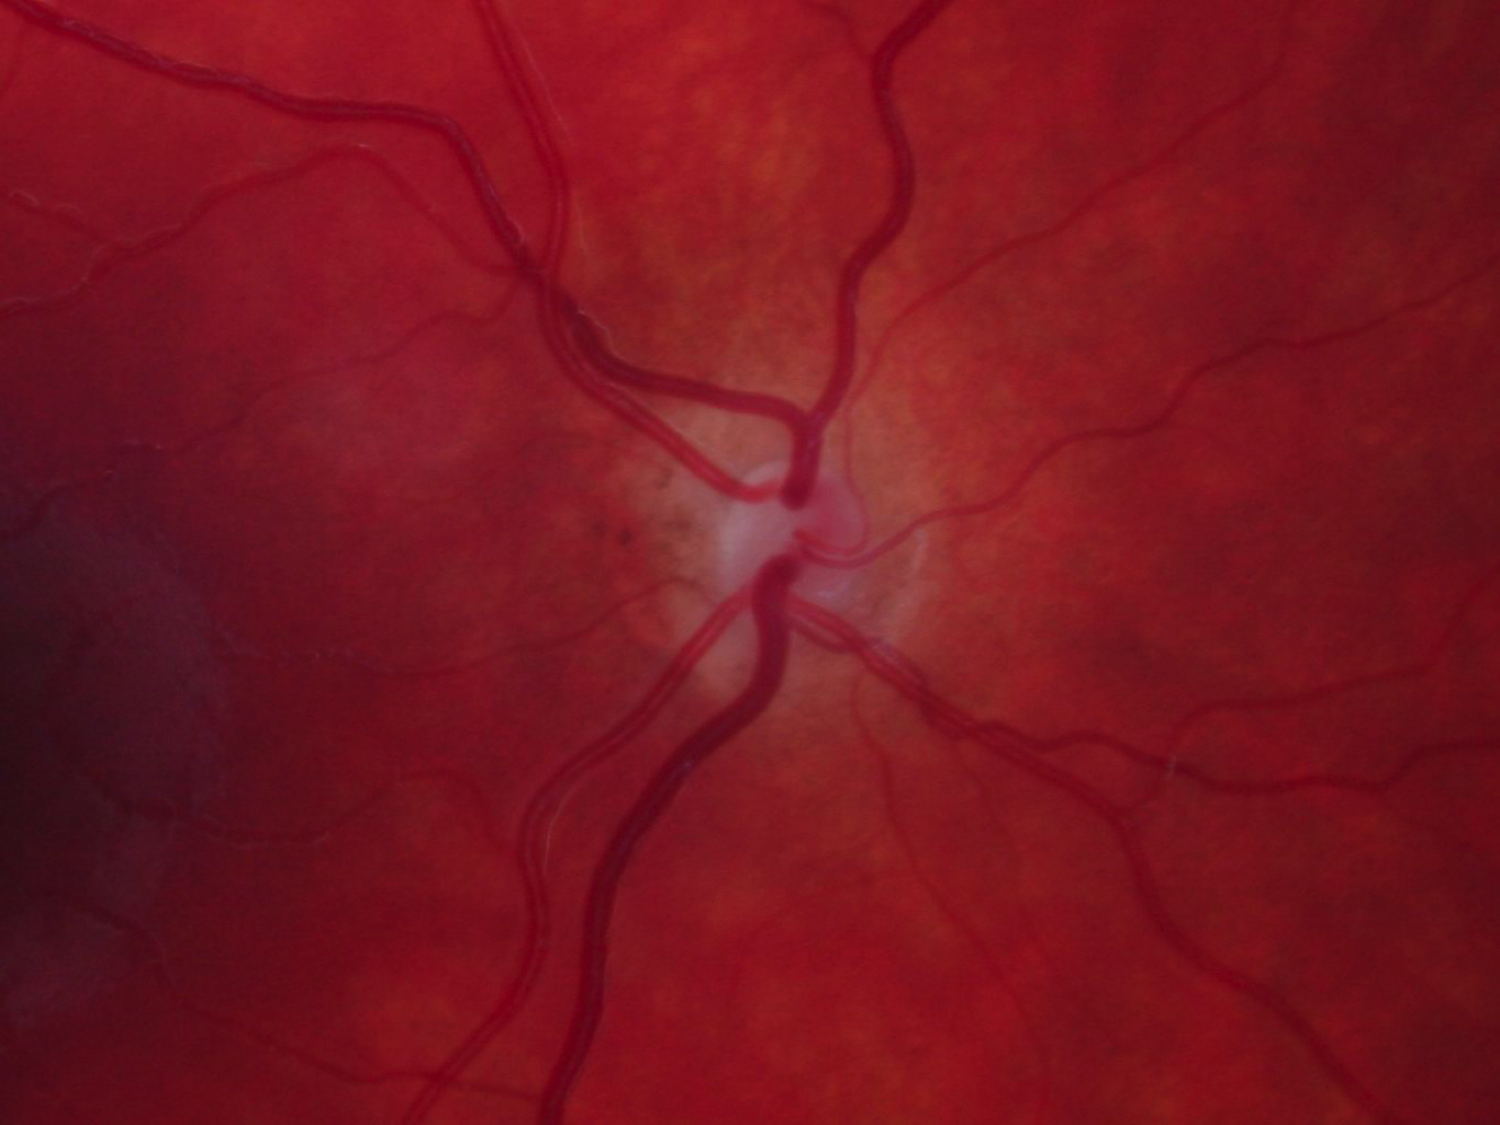
The first thing to have a look at is to decide whether this is a ‘conventional’ appearing disc with a normal insertion into the back of the eye, with a discernible neuro-retinal rim (NRR), and cup in the centre. If this is the case we can apply our usual criteria as described in the next paragraphs, to help decide whether or not this looks healthy.
There are however several variants of optic nerve head which sometimes make our conventional analysis pretty much impossible.
- Hypoplastic discs
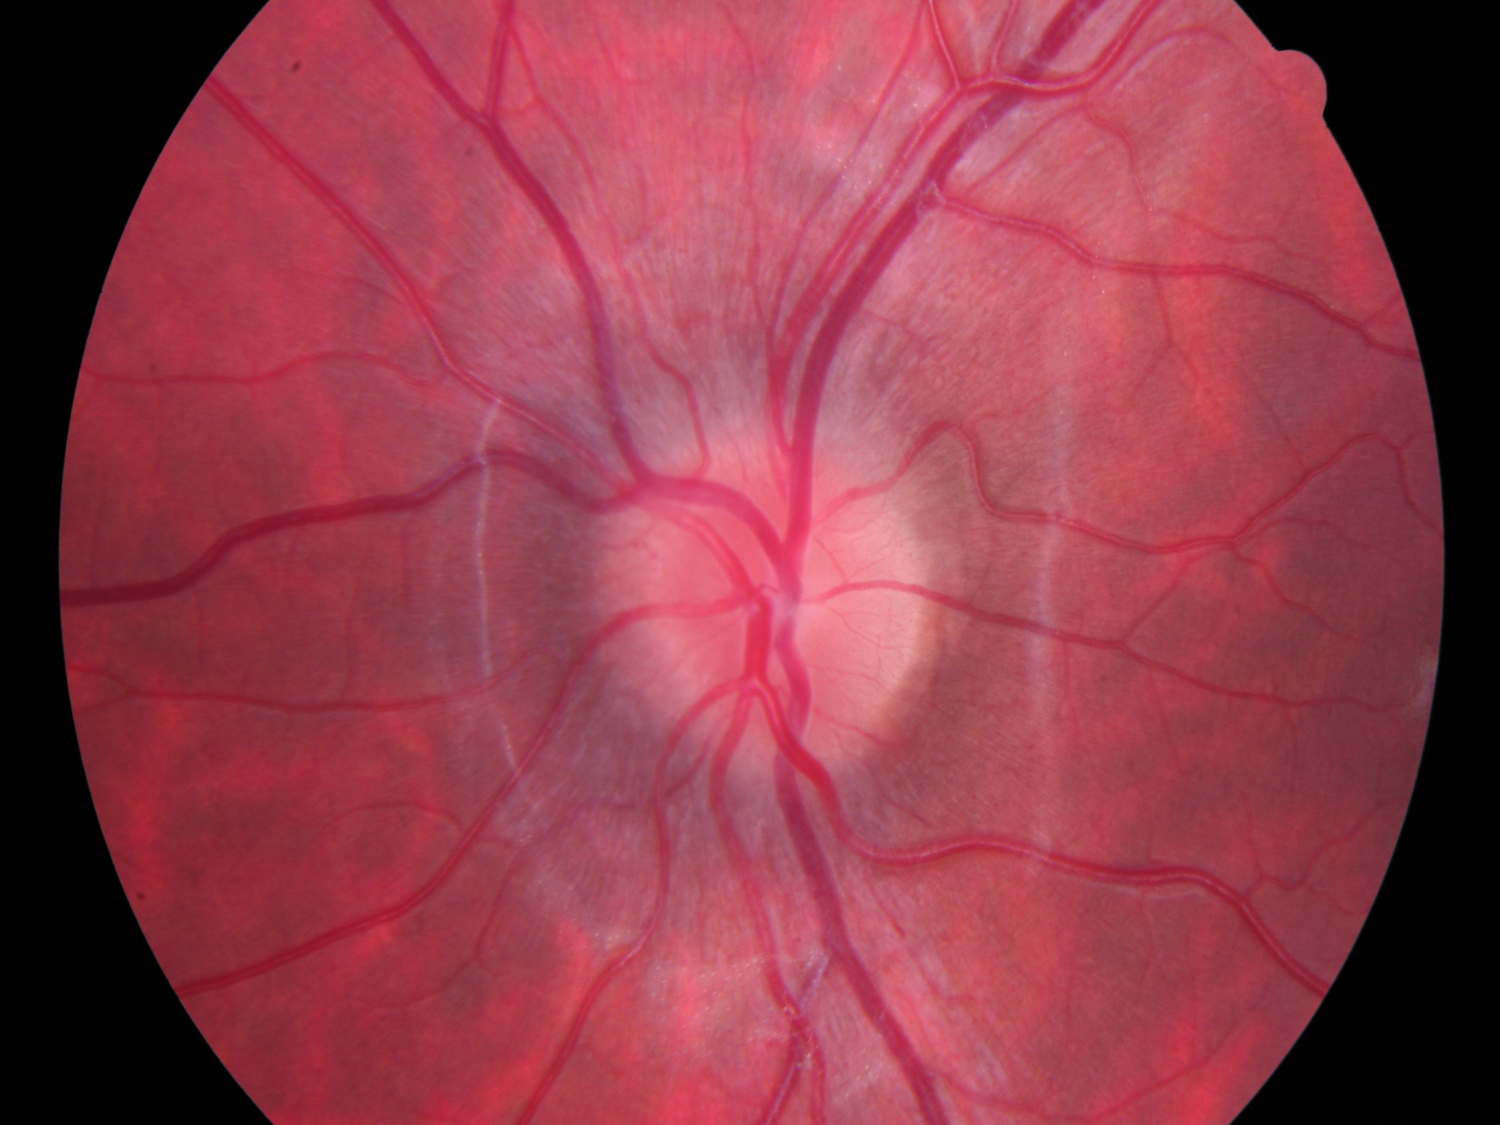
Hypoplastic disc - Tilted discs
- Swollen discs
- Myopic discs
- Optic drusen
- Optic disc pit
An important skill is being able to recognise these variants and have a working knowledge as to how to manage them. It is always worth highlighting that bilateral swollen discs can represent an ocular emergency.
I see quite a lot of tilted discs, which by default have areas of the NRR that appear thinned, and may produce a visual field defect. This is just be by virtue of the tilted disc, rather than there being a progressive glaucoma.
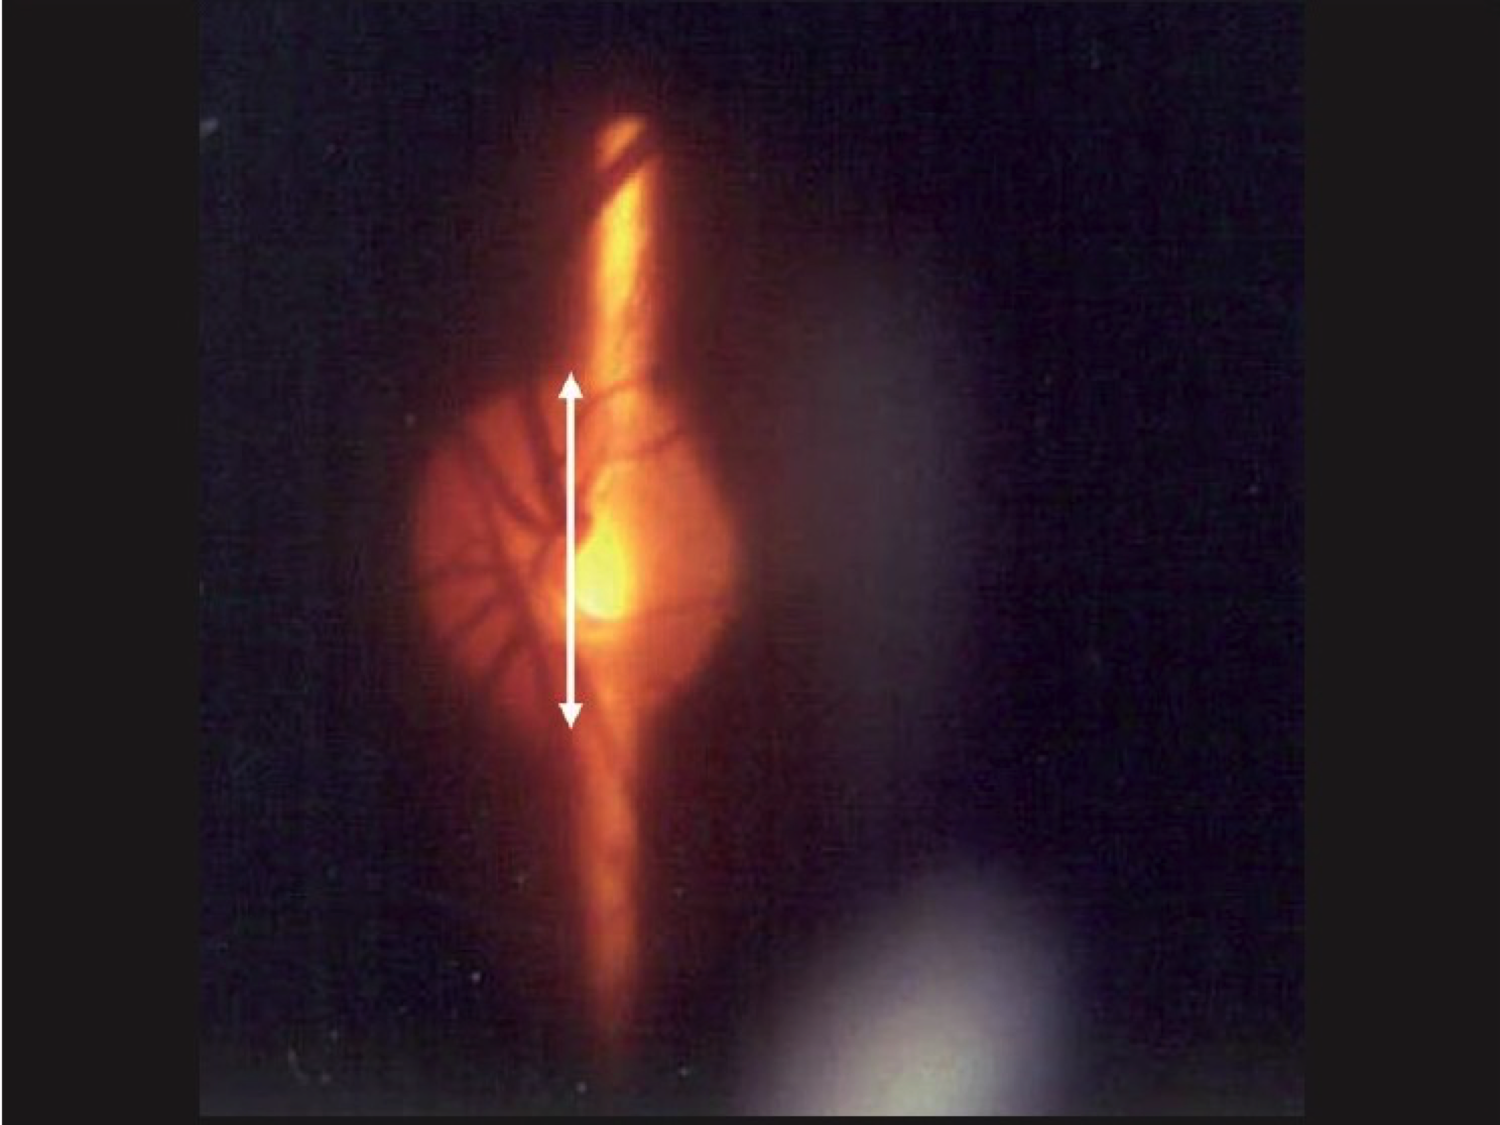
- Disc size/height
I have put this parameter high up the list on purpose as it is really important to measure the height of the. It is only by doing this that we can consider any degree of optic nerve head cupping, or thinning of the NRR in proper context. This is measured by lining up a vertical beam of light from the slit lamp over the nerve head and reducing the height until it matches that of the disc and reading the height off the beam height graticule. There may be a corrective factor owing to which lens you are using, but at very least this gives you an idea of whether the disc is of average size, is particularly small or large.
There is a really useful tool called the Disc Damage Likelihood Scale developed by Dr George Spaeth, which you can look up which equates disc size and NRR changes, which is really how we have to think about the optic nerve head.
- Neuro-retinal rim condition
This is probably the key to examining the optic nerve head in most eyes. Traditionally the amount of cupping was described, and a cup to disc ratio measured. Actually what we are more interested in is the condition of the NRR, as this is the tissue containing all the healthy ganglion cell axons, and in short, the more of these the better.
To examine this, you need to view around the 360° of the NRR and try to identify any areas of localised thinning or notches. Drawing a diagram of this and annotating any areas of thinning can be very useful. A cup to disc ratio is still useful to help spot progression but I want to shift the emphasis away from this as it is not very repeatable. A DDLS value would perhaps be more useful.
When identifying where the edge of the NRR is, you can use the path of the small blood vessels as a guide.
- Other features
Blood vessels – can be very helpful to decipher where the NRR edge is. If they become separated and splayed in the disc, it suggests that they are not being support by neural tissue, which can indicate loss.
Retinal nerve fibre layer – it is worth checking around the disc with a red-free filter. If the RNFL is visible, this is very reassuring. If there are wedge defects where this is absent then there has been loss. This is often more visible on an image.
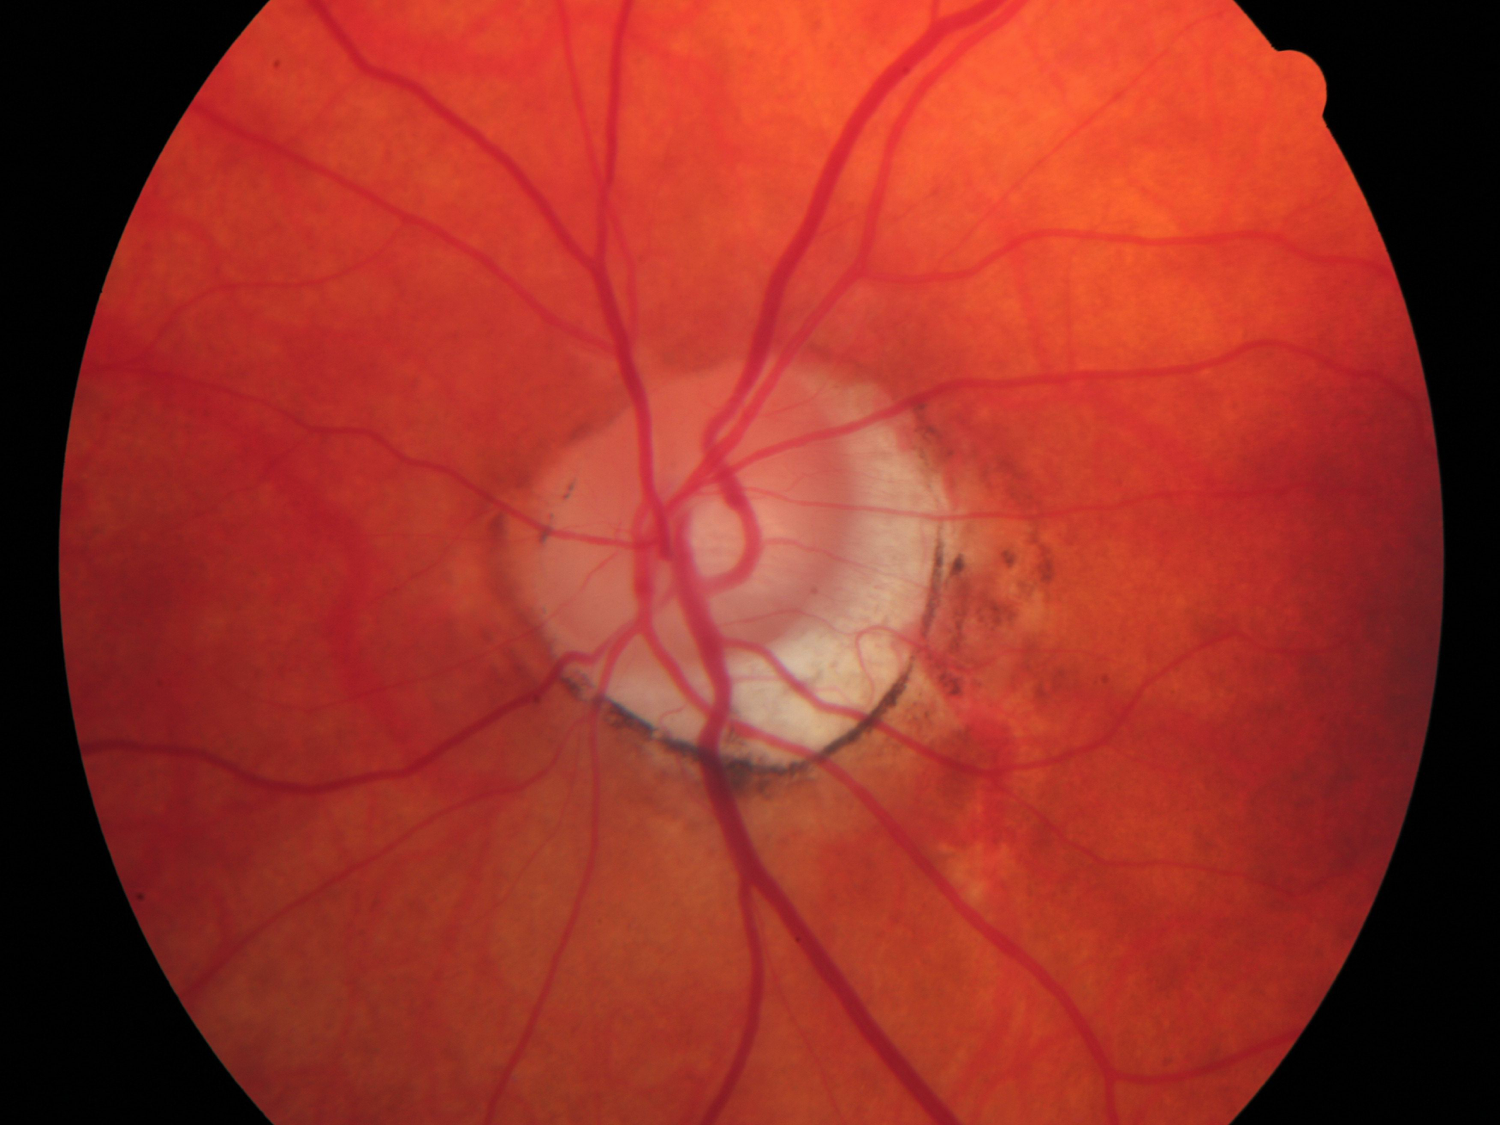
Splinter haemorrhage – associated with normal tension glaucoma and can be a pre-cursor to damage to the NRR. However the majority of eyes which have a splinter haemorrhage at some stage, still won’t develop glaucoma.
Lamina Cribrosa – becomes more visible and granular in appearance as nerve axons are lost.
Peripapillary atrophy – there may be some link with glaucomatous damage, though unclear how useful this sign is. I find it most useful as an indicator that a disc is tilted, as there will often be a patch of PPA along the edge of the disc which is tilting away from its normal insertion.
- Imaging
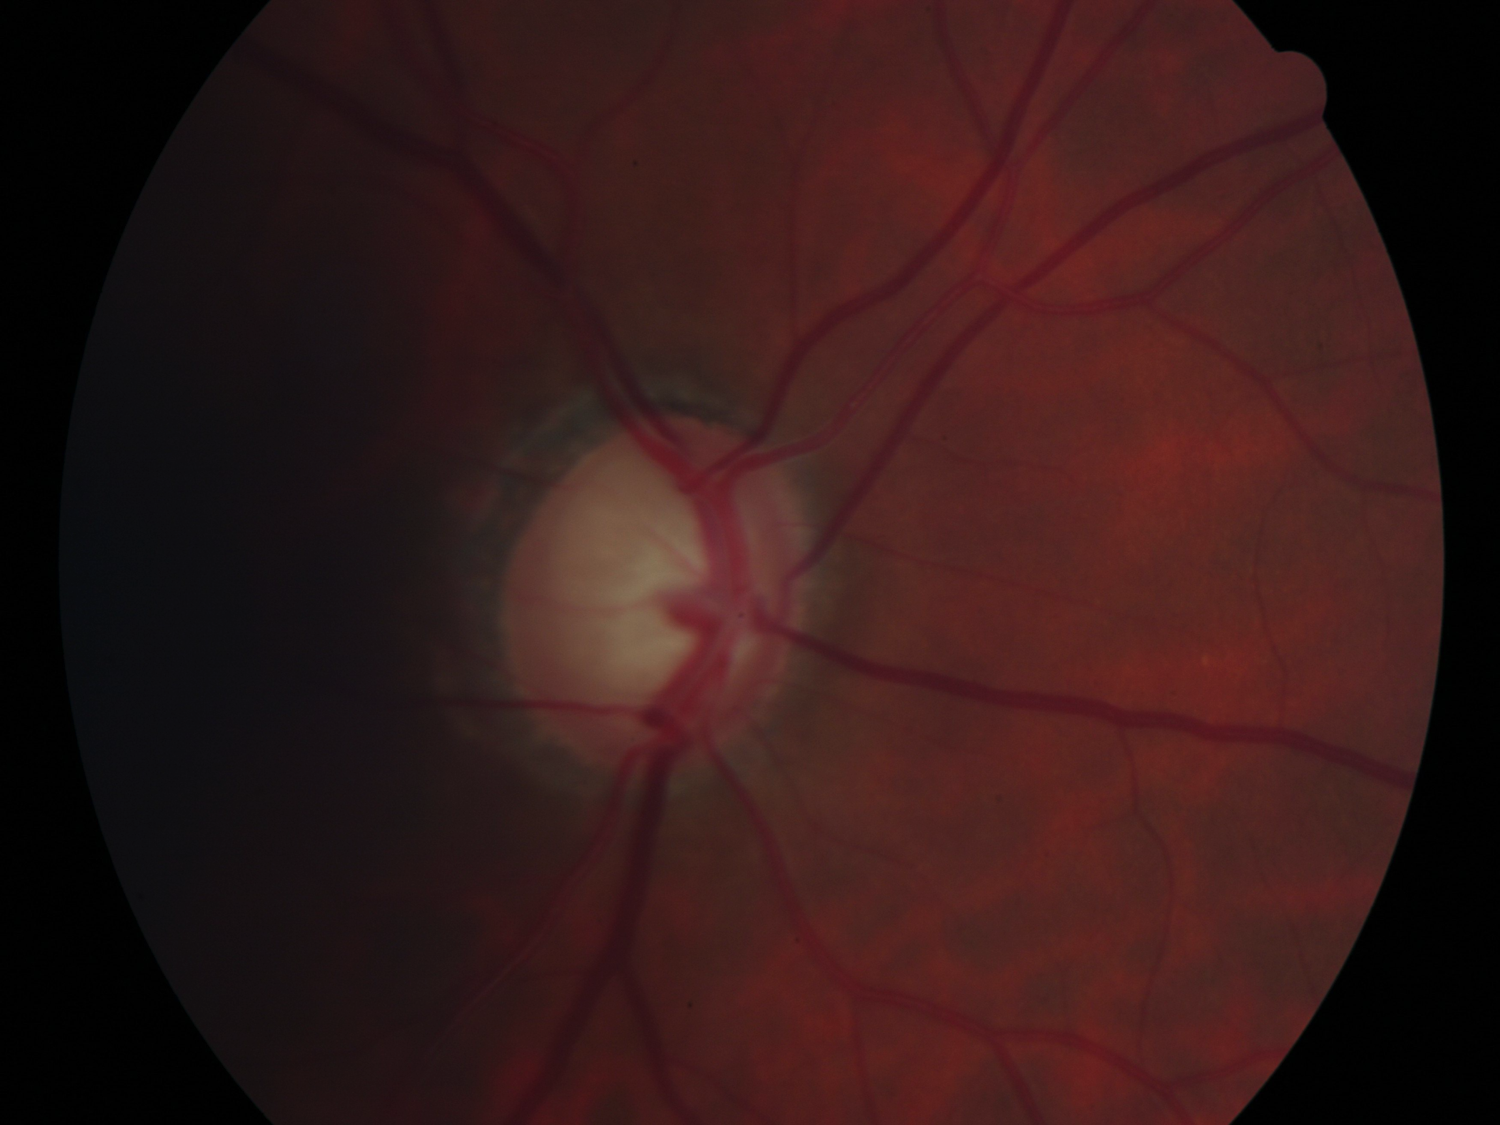
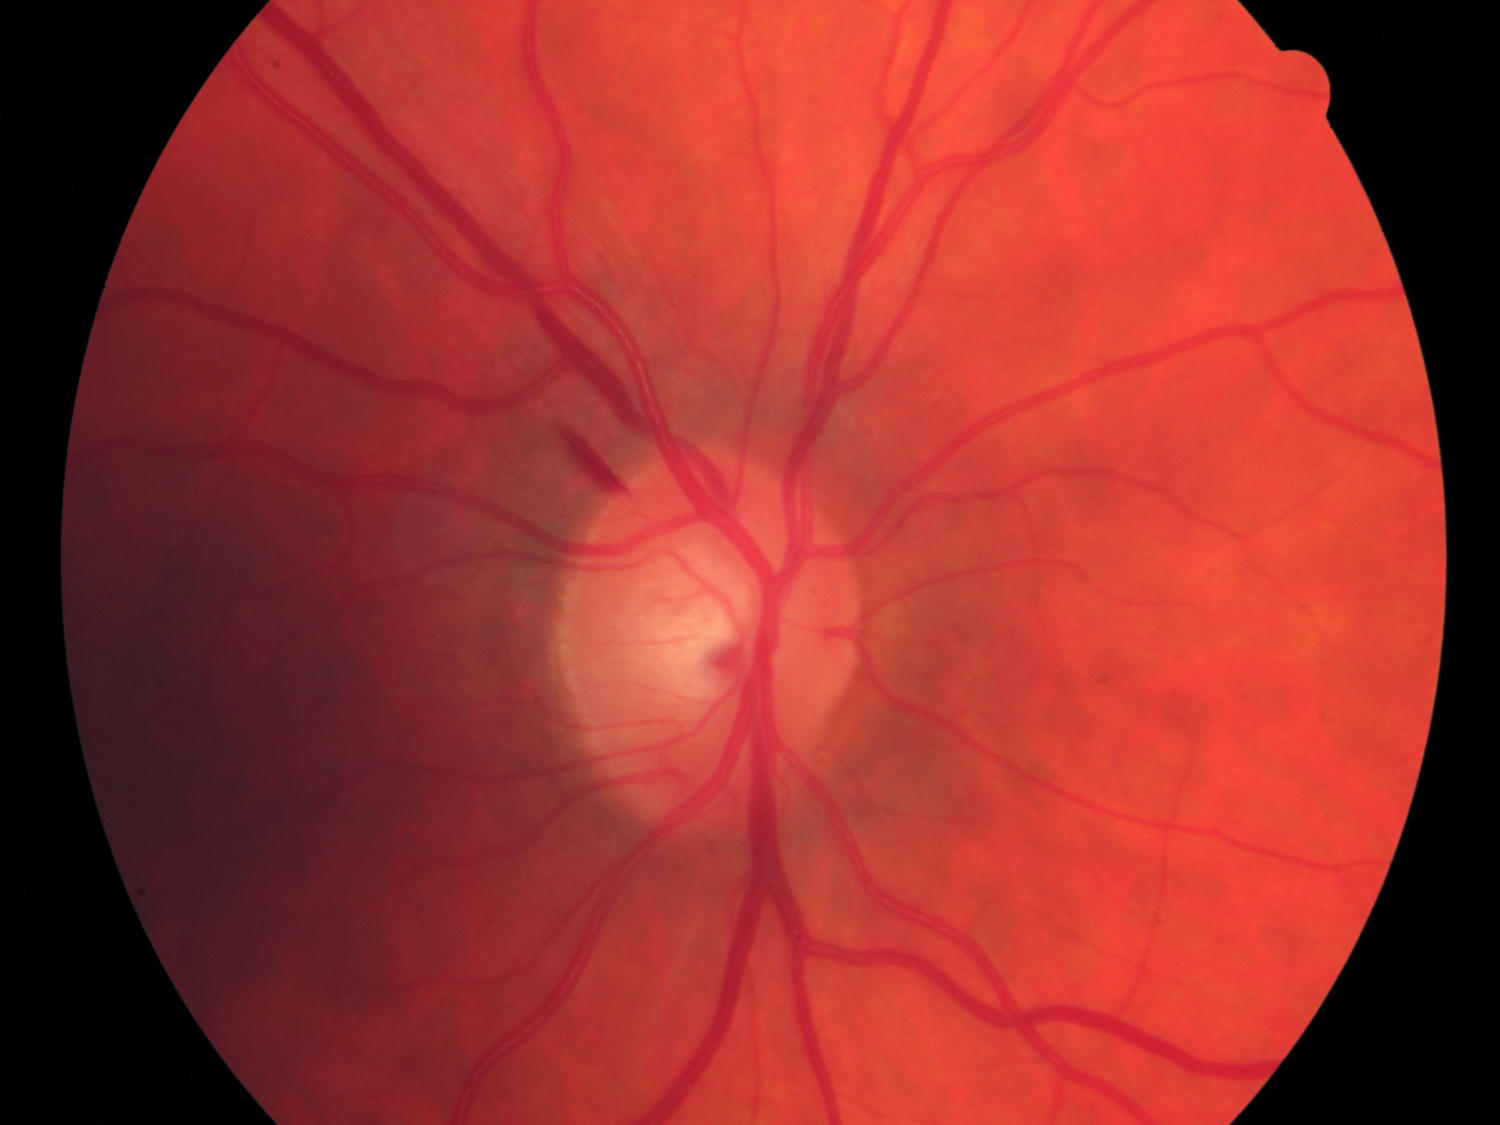
Imaging has become a hugely beneficial tool in reviewing and monitoring discs. Colour photography can give us a clear image for building a sequential record, much better than our drawings and descriptions can.
More recently we are starting to see the benefit of some OCT systems which can provide very repeatable scans with measured data of the optic nerve head and retinal nerve fibre layer, which can help both in detection of disease and monitoring for change.
I always emphasise that these tools really supplement the skill of good nerve examination, rather than become a replacement for it.
This has just been a very brief overview of this topic, but hopefully useful. I have a more in depth lecture on this subject which can be accessed through the following link on my site:
Optometry Educational Material on World Council of Optometry Website
Another great resource on this topic is the website www.optic-disc.org. This has a lot of great images, information and tutorials, so well worth a look.
Again, comments and feedback on this post are always welcome.
Thank you
Stan